The LEGO Group’s partnership with NASA has been a fruitful one, giving us loads of epic space sets. Misses don’t really come to mind as far as delivering accurate replica models. So the anticipation after hearing about a possible lunar rover has been intense, and we couldn’t wait to see it in person. Now that we have it in our hands, it’s time to give this 1913-piece kit a thorough inspection. Come with us as we do some data collection on the LEGO Technic 42182 NASA Apollo Lunar Roving Vehicle -LRV, which will be available August 1st and retail for US $219.99 | CAN $289.99 | UK £189.99.
The LEGO Group sent The Brothers Brick a copy of this set for review. Providing TBB with products for review guarantees neither coverage nor positive reviews.
Unboxing the parts, instructions, and sticker sheets
We’ve begun to notice a trend lately with larger sets, in that the boxes are two-piece/lidded, rather than opening at one end. This harkens back to retro sets, where the face of the box lifted. On one hand it’s great for containing pieces in a visible way, but on the other hand, you have to be more careful while transporting once opened. You can also see in the following picture of the back that the shape is a bit distorted due to lack of structural edges. This sounds like a negative take here, but I actually happen to like it. It’s really just notable and a matter of preference.
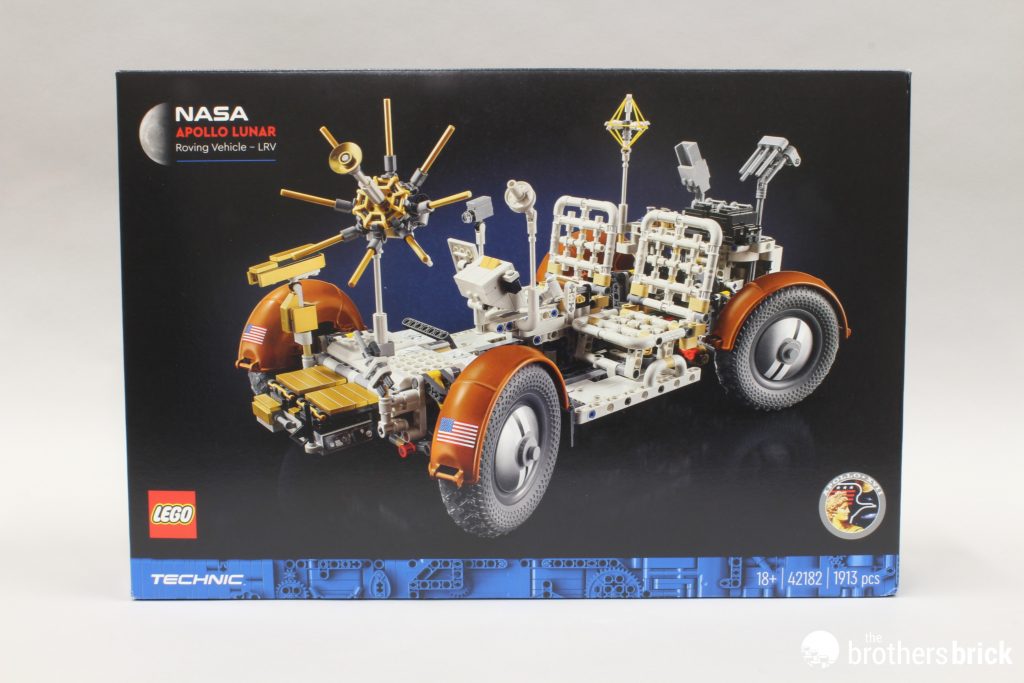
As for the rest of the box, the front shows the rover in all its glory, with the added logos of NASA and the Apollo 17 mission, while the back shows all the vehicle components on their stands. Additionally, inset images feature play features, dimensions, and a pic of the real thing.
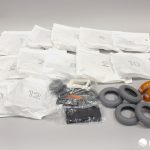
Inside the box are 12 paper bags (many of which have 1-2 inner paper bags as well), a couple unnumbered polybags, 4 loose tires, and 4 loose fenders. Right off the bat we’re treated with some new elements with both those items, being specifically designed and printed with American flags for this set.
The thick manual follows the same 18+ formula that we’ve come to expect, with the first 6 pages showing commentary and special images of the model and real vehicle.
There are 3 sticker sheets in this set, which seems like a lot, however much of the real estate is taken up by the large 8×16 display-stand decals. One of the sheets is entirely shiny stickers, which is always worthy of an, “ooooh!”
The build
Bag one of the build process has us assembling the dense structural core of the model. This includes the components for the simple steering mechanism.
Next up we have both the front and back axles, complete with some pretty nice suspension. The wheel hubs themselves have only been in a few sets.
With bag three we tack those axles onto the previous core to complete the lower chassis of the rover.
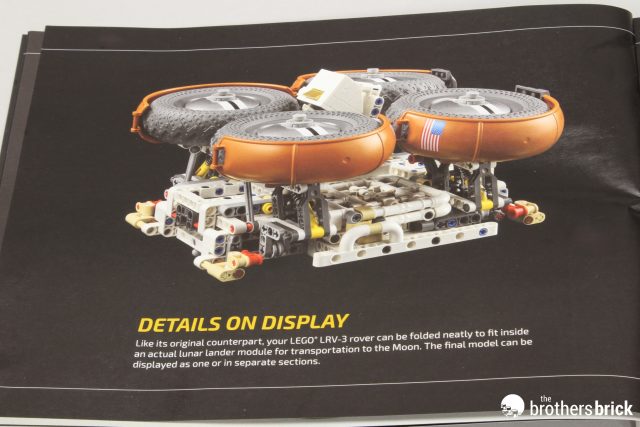
It’s at this point that we get our first glimpse of the major play feature, which involves folding the wheels inward and up… kind of like a dead bug, but not on it’s back.
Moving along, it’s time to begin construction of all the things that make the lunar rover what it is, namely, the gizmos and scientific apparatuses. First, we have the driver’s display panel. Here we apply our first stickers, and the build itself utilizes some nice sandwiching of brackets and plates to give it the right look.
Along with the display, we also add the running board and footwell areas of the rover, as well as the upper part of the steering mechanism. Steering for both the astronauts and LEGO model builders is done with a T-handle at the center of the vehicle.
Next up we use some fun techniques to install the lower portions of the seats.
We continue with the same techniques to make the backs of the seats, and both the seat halves and foot plates are folding/collapsible. It’s at this point that we also add the wheels, tires, hubcaps, mud flaps, and fenders to the model. As previously mentioned, this is where a lot of the unique elements show up in the set, with special printing, molds, and color variants. Also as previously mentioned, we have some sweet suspension worthy of a moon-based vehicle.
At this point we begin creating the removable modules for the rover. First is the forward chassis assembly, which takes up many of the stickers. It depicts the batteries and other components that allow the rover to, well, rove.
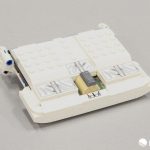
In front of that goes the Lunar Communications Relay Unit, or LCRU. Both this unit and the last module contain lots of pieces that are hidden below stickered tiles, as they would be layered in the real components. They’re not exactly Easter Eggs, but they’re fun details that give the set depth.
To complete both of these modules, we add some bling. First, we have a low gain antennae and a smaller camera with an attached map depicting the locations the rover travelled to on its mission. Then we have another giant, fancy, high gain antennae and a sweet, metallic gold TV camera. The larger antennae also comes complete with a dust brush that utilizes fork elements for bristles.
Moving to the back of the rover, we find ourselves building an odd-looking folding structure, otherwise known as the “aft pallet assembly” module.
And with that structure, we build a plethora of lunar experimentation tools. While we are given strong clues on the display placard, the tools aren’t explicitly labelled anywhere. Best guess (from left to right in the pic below) are a radar dish, sample collection pack (with rocks), data collection apparatus, rake, shovel, hammer/pick, pipe wrench with vice, sample collection tube, core driller, and an extender for the hammer/pick. I particularly love the rubber-band-through-clips technique used on the data collection apparatus/antennae component.
Every item has its own special place on the pallet, with designated holes or holders for each. One interesting feature here is that several of the tools are held in place by tiny panels hinged to fold inward and grab the item.
A few more items are built to add to our current collection, including a “Traverse Gravimeter” (blue) and a moon rock. The rock is based on a real sample, named “Big Muley”. I’m not entirely sure what the black assembly is supposed to be, but my best guess is sample containment.
These items also have their own special places on the pallet, which is now complete.
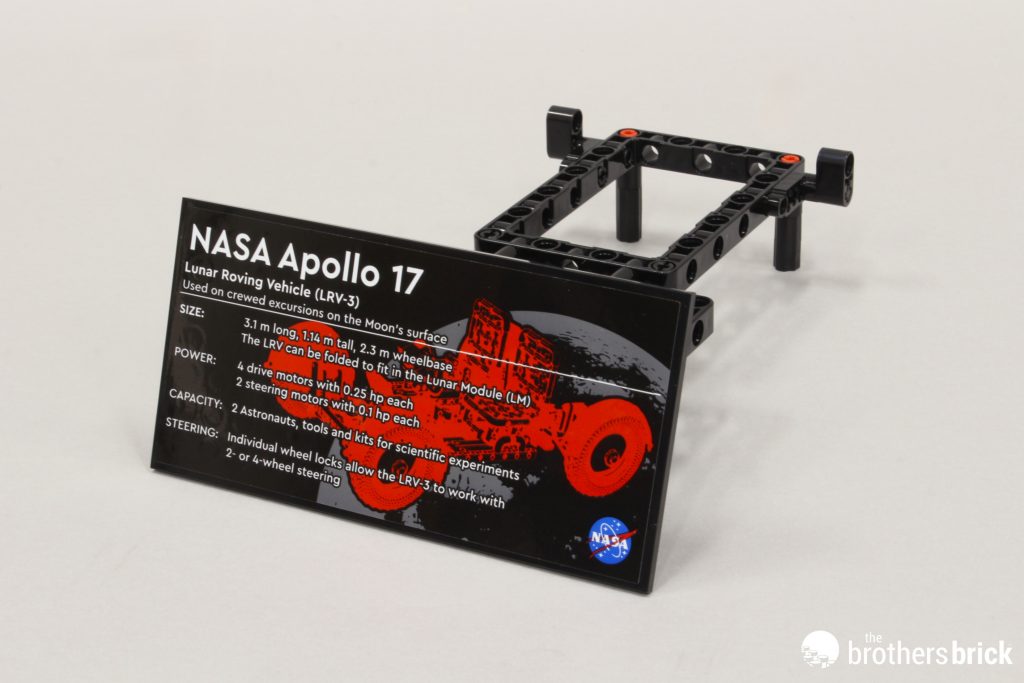
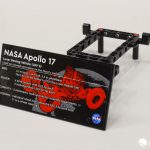
Setting the rover and all of its components aside, it’s time to build the display stands. They’re pretty simple structures, with axle pins to rest the module on. Each of those giant stickers sits on a black 8×16 tile.
The modules all fit nicely on the stands and are great for display.
The rover body fits on its own stand, and while it looks a little less cool without all the modules, it does give it a nice solid resting place to live in the “folded” configuration.
Now for all the fun GIFs! This one shows how a significant number of tiny actions need to happen for the transformation. Each wheel has a little latch, each axle has a pair of pins, and the steering mechanism has a pair of little panels that act as stoppers. In total 12 little pieces must be shifted in some way. (The GIF depicts unlocking everything and then re-locking everything.) It seems like a lot, but really it’s all part of the fun.
As previously mentioned, the seats and display panel are collapsible, and this must be done in order for the rover to transform into the folded position.
Once everything is unlocked and the seats are collapsed, we can now fold up the wheels. It’s a fun transition, and smooth once you get the hang of it.
Finally, the rover (both real and model) is designed to have either 2-wheel or 4-wheel steering. Locking one side of the steering mechanism allows this change to happen. There is a greater degree of movement with the 4-wheel steering versus 2-wheel.
The completed model
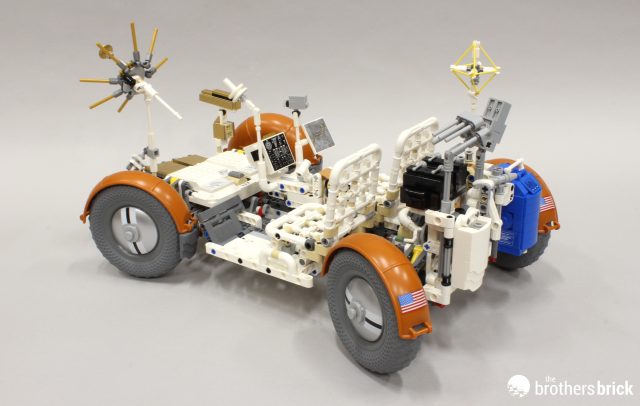
The display stands and the folding feature are cool, but nothing beats the presentation of the rover with all of the modules installed. It’s a pretty sweet ride and looks great from every angle.
All that metallic gold shines nicely set against the white and dark orange. And based on the source images, the designers have done an awesome job at recreating the details.
Conclusions and recommendations
As a kid, I loved toys that had lots of “stuff” to them. Moving components, modular pieces, accessories… Even my favorite books were ones where they listed every tool they put in their adventure pack. Pair that with a space motif, and my inner child is jumping for joy. The Technic-obsessed adult fan in me is loving the build process and part selection. I also appreciate the nod to an awesome piece of history. So for me, this set is a huge win, and I would recommend it to anyone who shares these passions with me.
I’m finding it difficult to step back and consider a negative. Perhaps someone could say the transformation process is clunky. But I love it. Some keen eye could probably point out a detail or two that isn’t perfectly replicated, or some small missing component. But on its face they do a pretty excellent job. The price per piece may be a tiny bit high, but I’m not gasping too hard overall. The only thing I can come up with is that there are a couple steps in the instructions that are hard to make out and a little easy to mess up. Definitely stick to the advanced builder guideline and you’re golden.
This set will be available August 1st, retail for US $219.99 | CAN $289.99 | UK £189.99. You may also be able to find it at other retailers through Amazon and eBay.
The LEGO Group sent The Brothers Brick a copy of this set for review. Providing TBB with products for review guarantees neither coverage nor positive reviews.
Check out our gallery for all the pictures from this review:















Ok, I tried to do a little internet sluething, but came up short
What is “the advanced builder guideline” ???
Hi Alphonse! Sorry for the confusion. This set is rated as 18+, which is a suggestion of being for adults, or at very least, advanced builders – hence the “advanced builder guideline” statement. You’ll want to make sure that you have building experience to take on this set. Hopefully that makes sense.
Thank you, it does, Was speculating that it was a list of some tips or things to keep in mind for advanced builds!