Previously on Tom Servo and Me: Part 1 | Part 2 | Part 3
When we last left Chris Doyle, he had just finished building his latest replica of Tom Servo from Mystery Science Theater 3000. All that was left was to take photos and write up the summary article. Simple, right? Well, if you’ve read the previous installments, you know things rarely went according to plan throughout this journey. Why should the last few steps be any easier? When things go disastrously wrong during the final photo shoot, Chris will find himself questioning if getting back into LEGO building was the worst idea he ever had.
In the end, it will all work out. We promise.
August 25, 2019
Tom is done! With his revised arms in place, he’s looking snazzy and ready to go. I just need to set up some backdrops and take some “non workshop” photos. I like the photos that have him in a real-world context, but that’s usually not what the LEGO fan community wants to see on Flickr.
I’ve taken a bit of time to start putting away my extra parts. It’s possible I didn’t need to order all this dark red. Oh well. There’s sure to be something in the future that will require at least some of this. I’m just sad that I didn’t end up using any of the cheese slopes I sorted out.
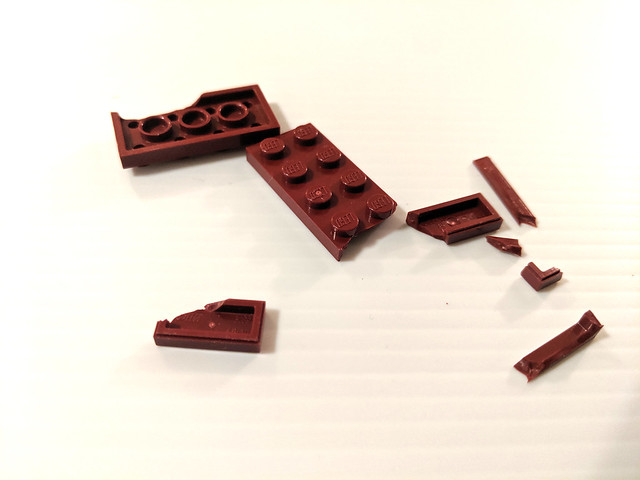
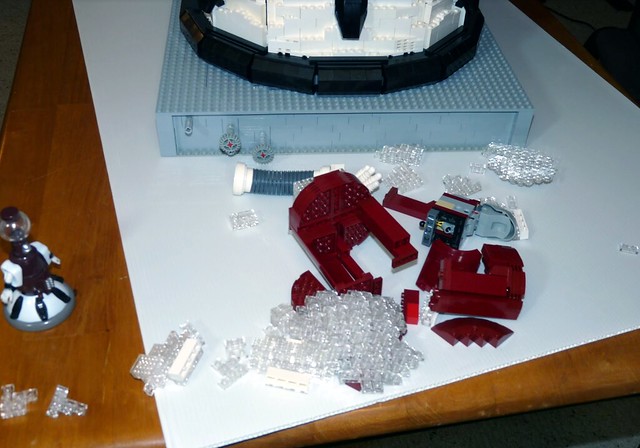
I did confirm that older dark red brick is super fragile. Here’s the pile of brick that broke while I was building Tom. This was just the result of popping the pieces off with a standard brick separator. The newer brick seems a lot more sturdy, as well as being more uniform in color.
I have some large white sheets of plastic sandwich-board on hand to eventually use as a backer on my Phantom Zone mural. I think they’ll work for a clean white background behind Tom. He’s a little big even for those, and the lighting up in the workshop is not great. I’ll just have to fix photos in post. I took one test shot as a proof of concept.
…although…
…is it just me or is the red part of his head too skinny?
August 28, 2019
I’ve decided to rebuild the red part of Tom’s head. Tom 2.0 is scaled just a bit bigger than Tom 1.0. Using the gumball machine part from the real Tom I have for comparison, I think I need to increase the diameter by a stud or so. That’s going to to introduce all sorts of complications, but by roughly sketching the shape I can see it looks tons better. Why can’t I just leave this build alone?
August 29, 2019
Increasing the diameter by just one stud means that I have to recenter everything. A two-stud increase would be a trivial expansion, but that’s way too big. Figuring out a half-stud offset is a total pain, but I have plenty of jumper plates. And of course, the beak is now sitting too far back, so I’m going to have to figure that out, too. At least I have enough spare parts that I can build the new head while leaving the old one intact for comparison.
August 30, 2019
Great. I’ve actually run out of dark red 4×4 corner plate. That somehow means there’s well over 120 of them in this build. Big creations eat a lot of parts. Anyway, I have to rip apart the old head to finish building the new one. Go me.
August 31, 2019
Finished the new head. It did indeed improve things. Just waiting on some more lights for the studio so I can take the final photos.
September 8, 2019
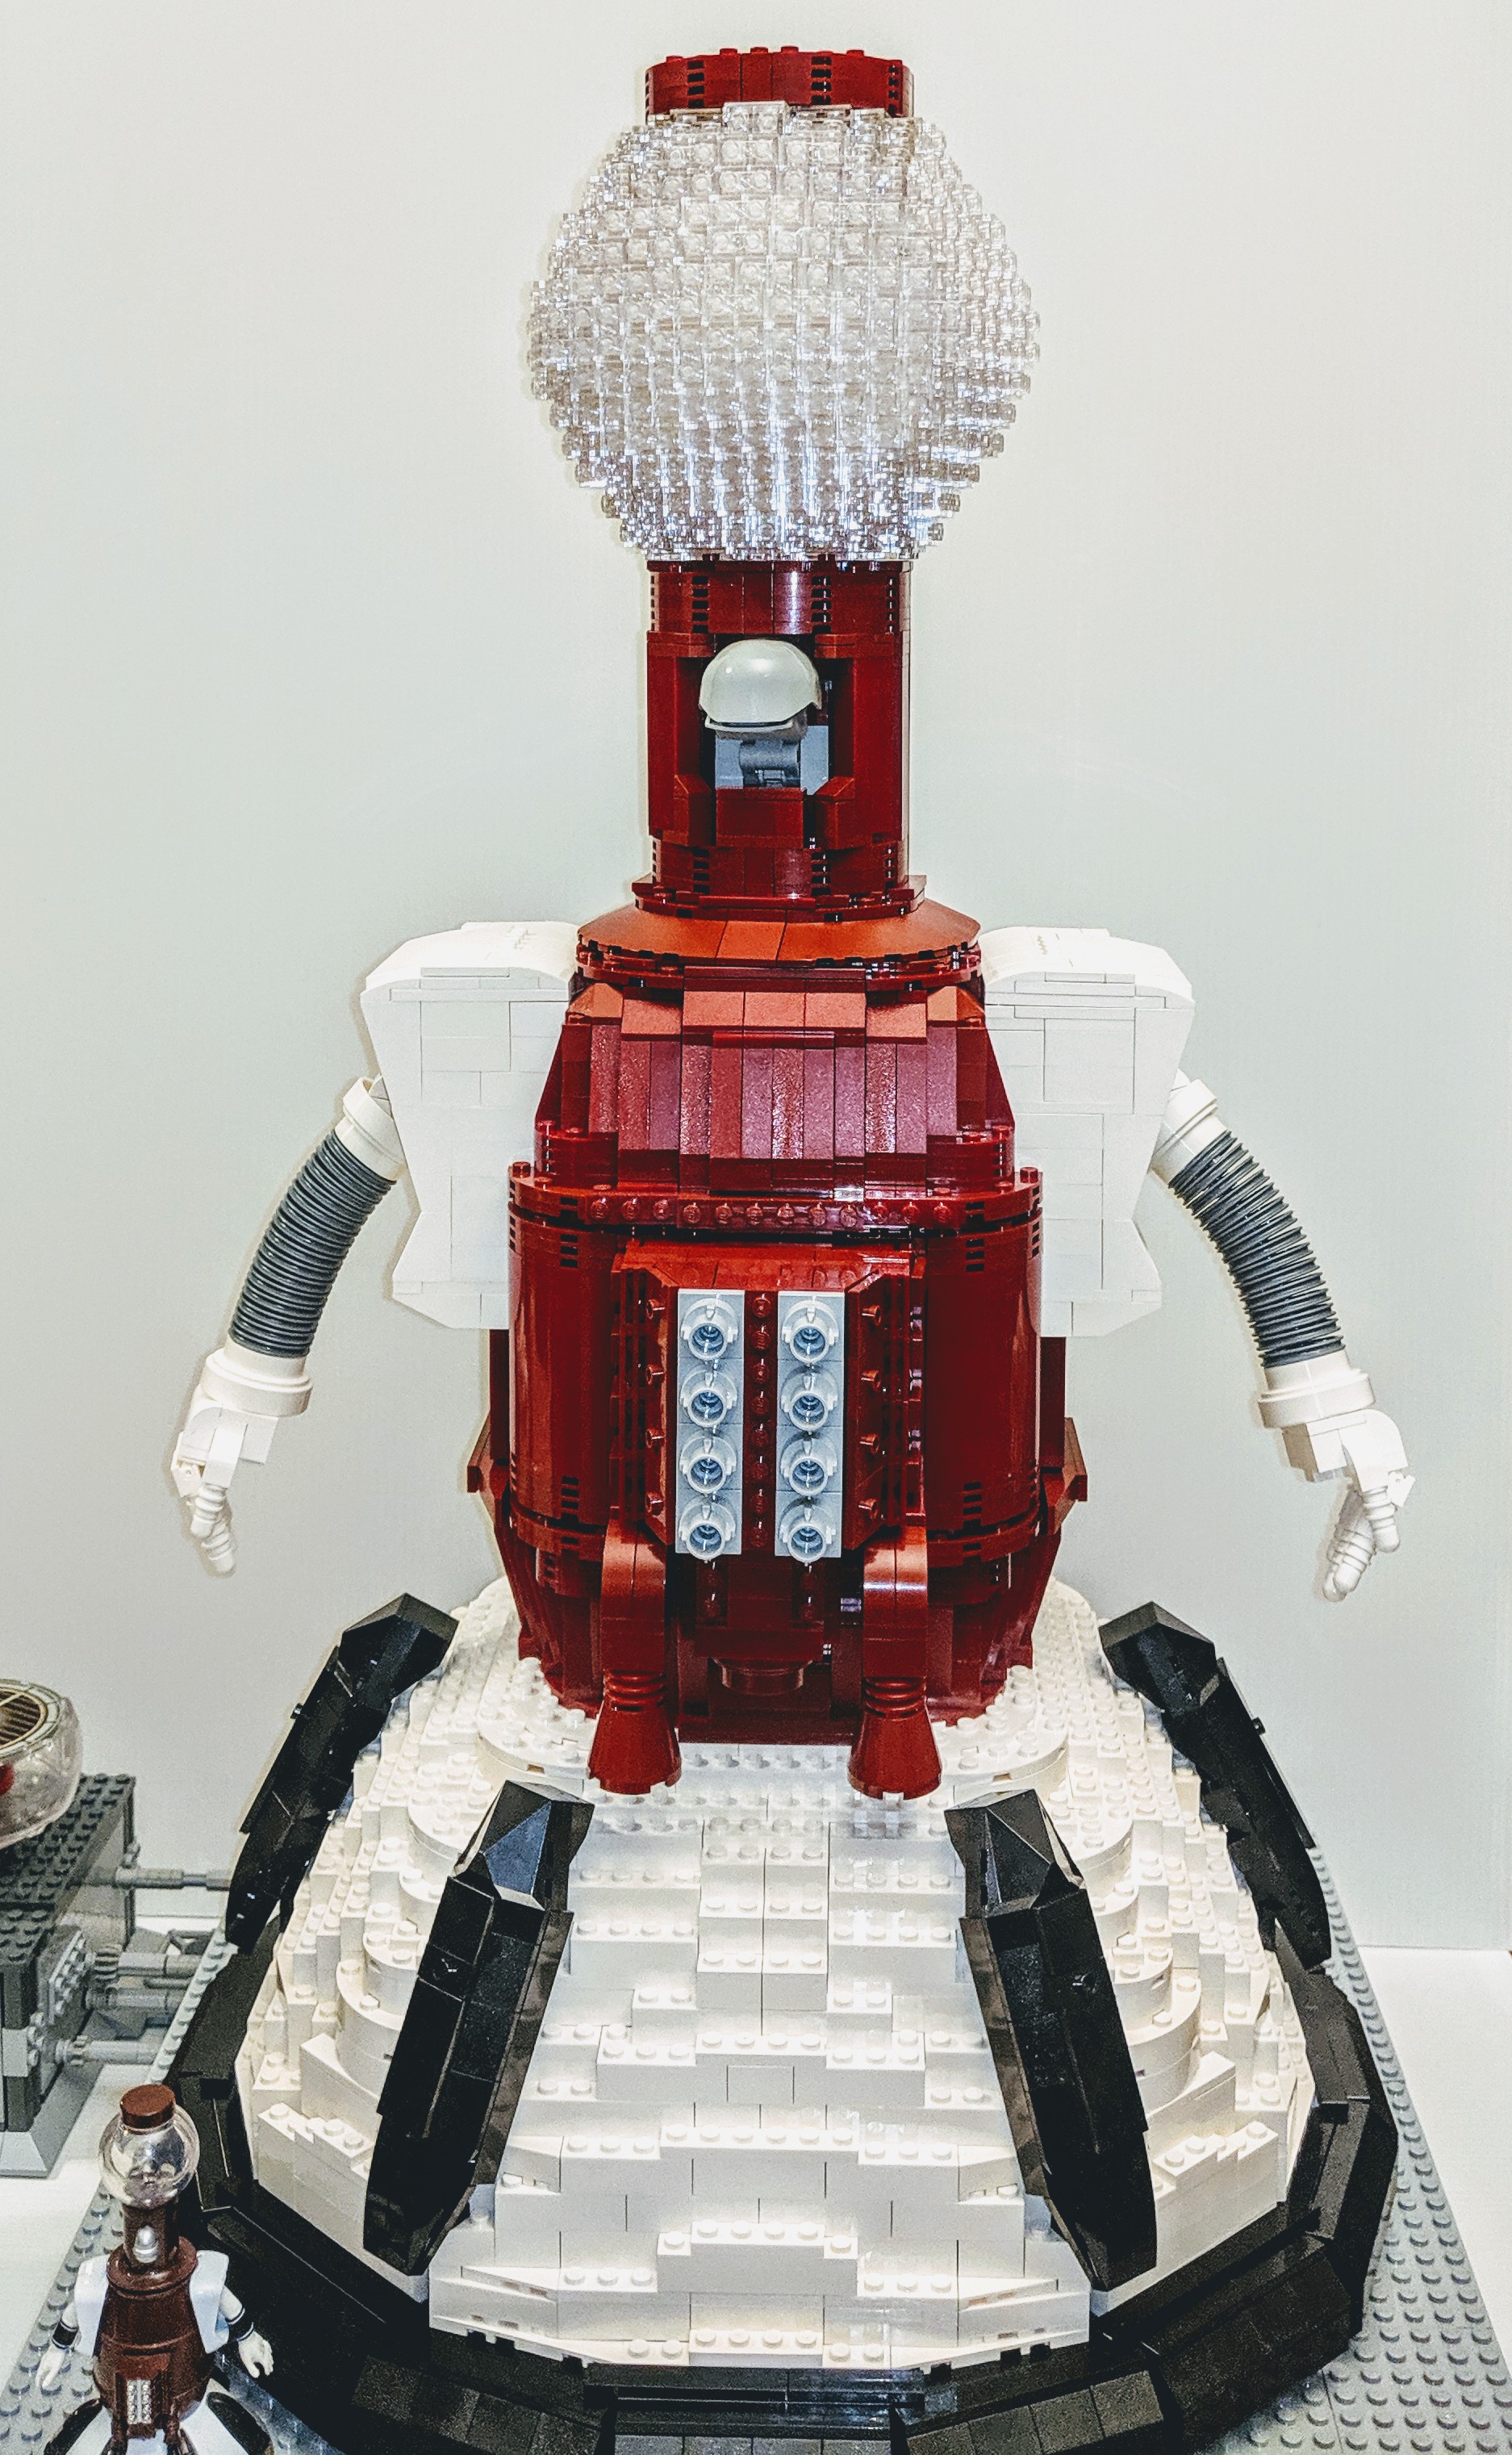
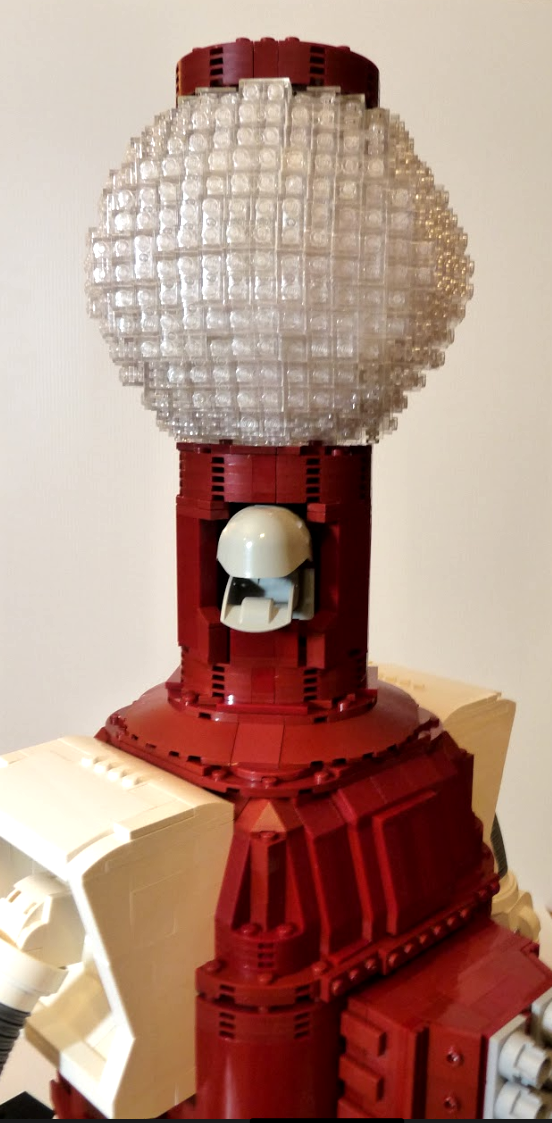
Photo day! Tom’s new head looks pretty snazzy – the extra diameter really was necessary with the rest of his body being scaled up.
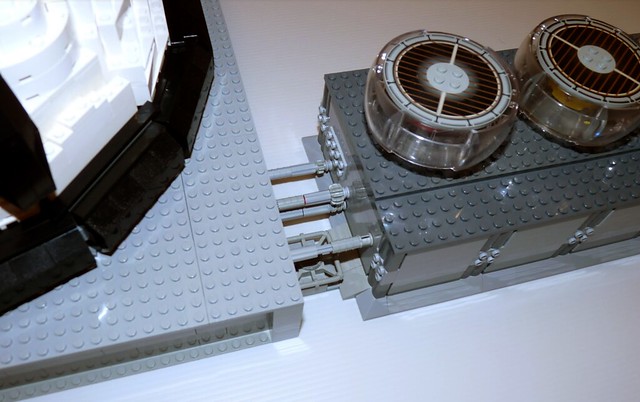
The Mad Lights connect up nicely. I’ve set up a minimal-length run so I don’t have to deal with the torque on the Technic axle rods.
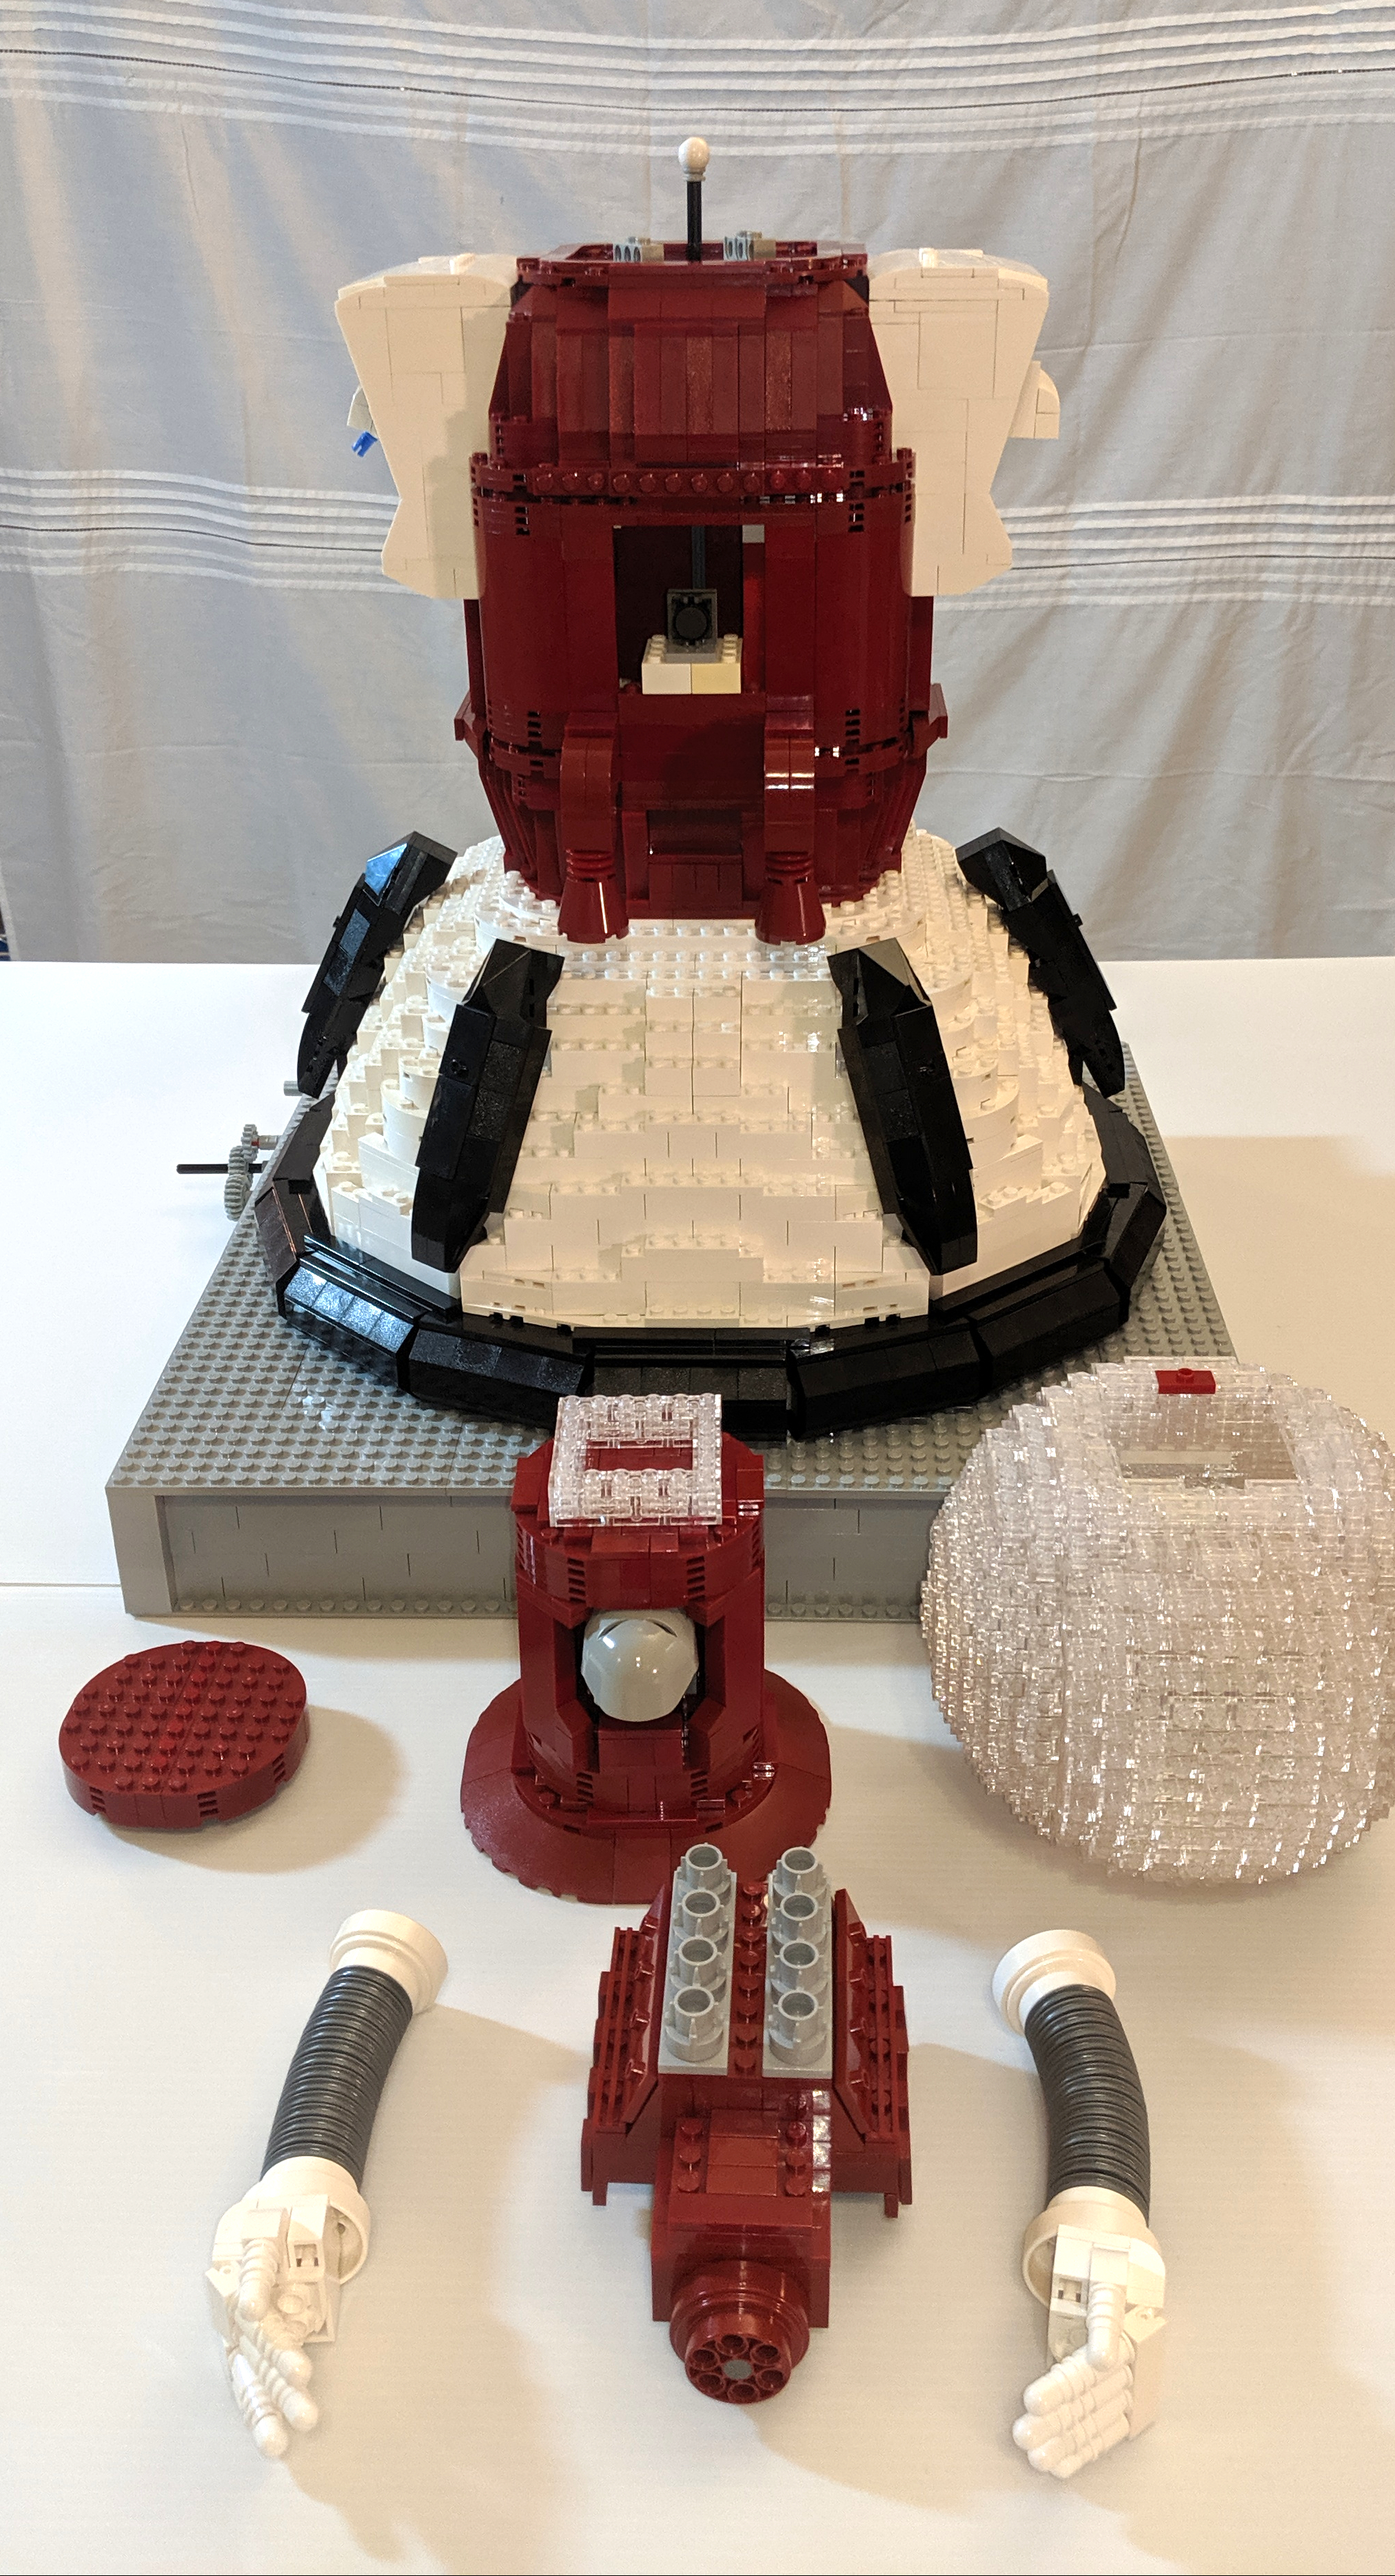
The engine block is still removable, but there’s not as much access to the interior as there was earlier. At least I can still remove it for storage and transport.
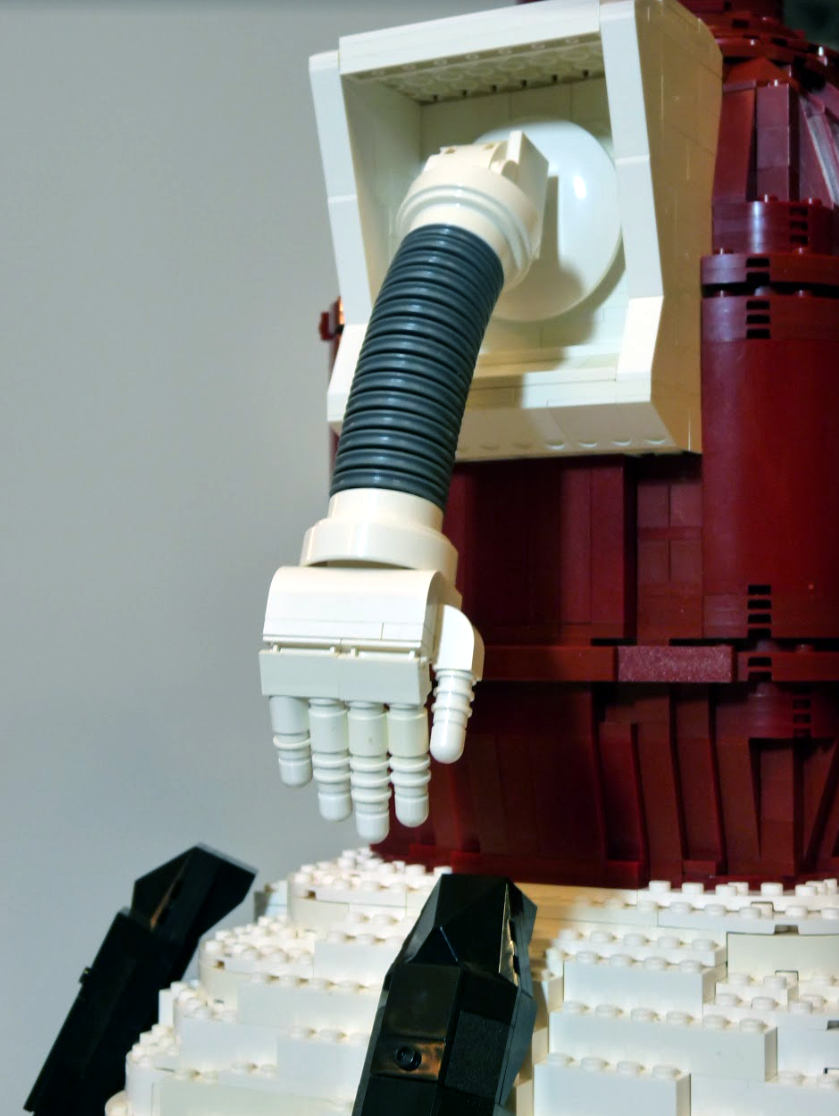
Tom’s hands got a slight upgrade, with better ends to his fingers. I made them from white Barraki eyes.
Just look at how happy Tom is to be the star of his own photo shoot!
SUDDENLY
…The backdrop fell over and smashed Tom’s head.
His dome is completely shattered. So is the rest of his head. One of his arms came off. There are transparent 1×2 plates strewn all over my workshop.
There was no yelling or crying but, man, is this a huge downer. The temptation to just shove the whole build into a bin and give up on building again ran very high for a bit. But I’ll rebuild. I’ve come too far to give up now. I put the red part of his head back together, then called it a night.
September 9, 2019
If I have to rebuild Tom’s dome, I’m going to do it right this time. I downloaded a pattern from Bram’s Sphere Generator, installed LDRAW, and took a look at what a mathematically-perfect 14-stud wide sphere would look like. I’m going to have to free-hand the build since I only want to use 1×2 plate. To keep it light I also need to keep it as hollow as possible, but having a guide should make shaping things so much easier. The old version was done mostly freehand, and it was okay. However, since this is the very last part of Tom 2.0 that hadn’t been reworked from scratch during this build, I might as well go all in.
It took a couple of hours, but I finished the new dome, and dang if it isn’t just the roundest, most satisfying sphere I’ve ever built.
September 10, 2019
Okay, ready for photos again. I’m going to just hang up a sheet or something and hope for the best.
September 11, 2019
Okay, let’s try this again, shall we?
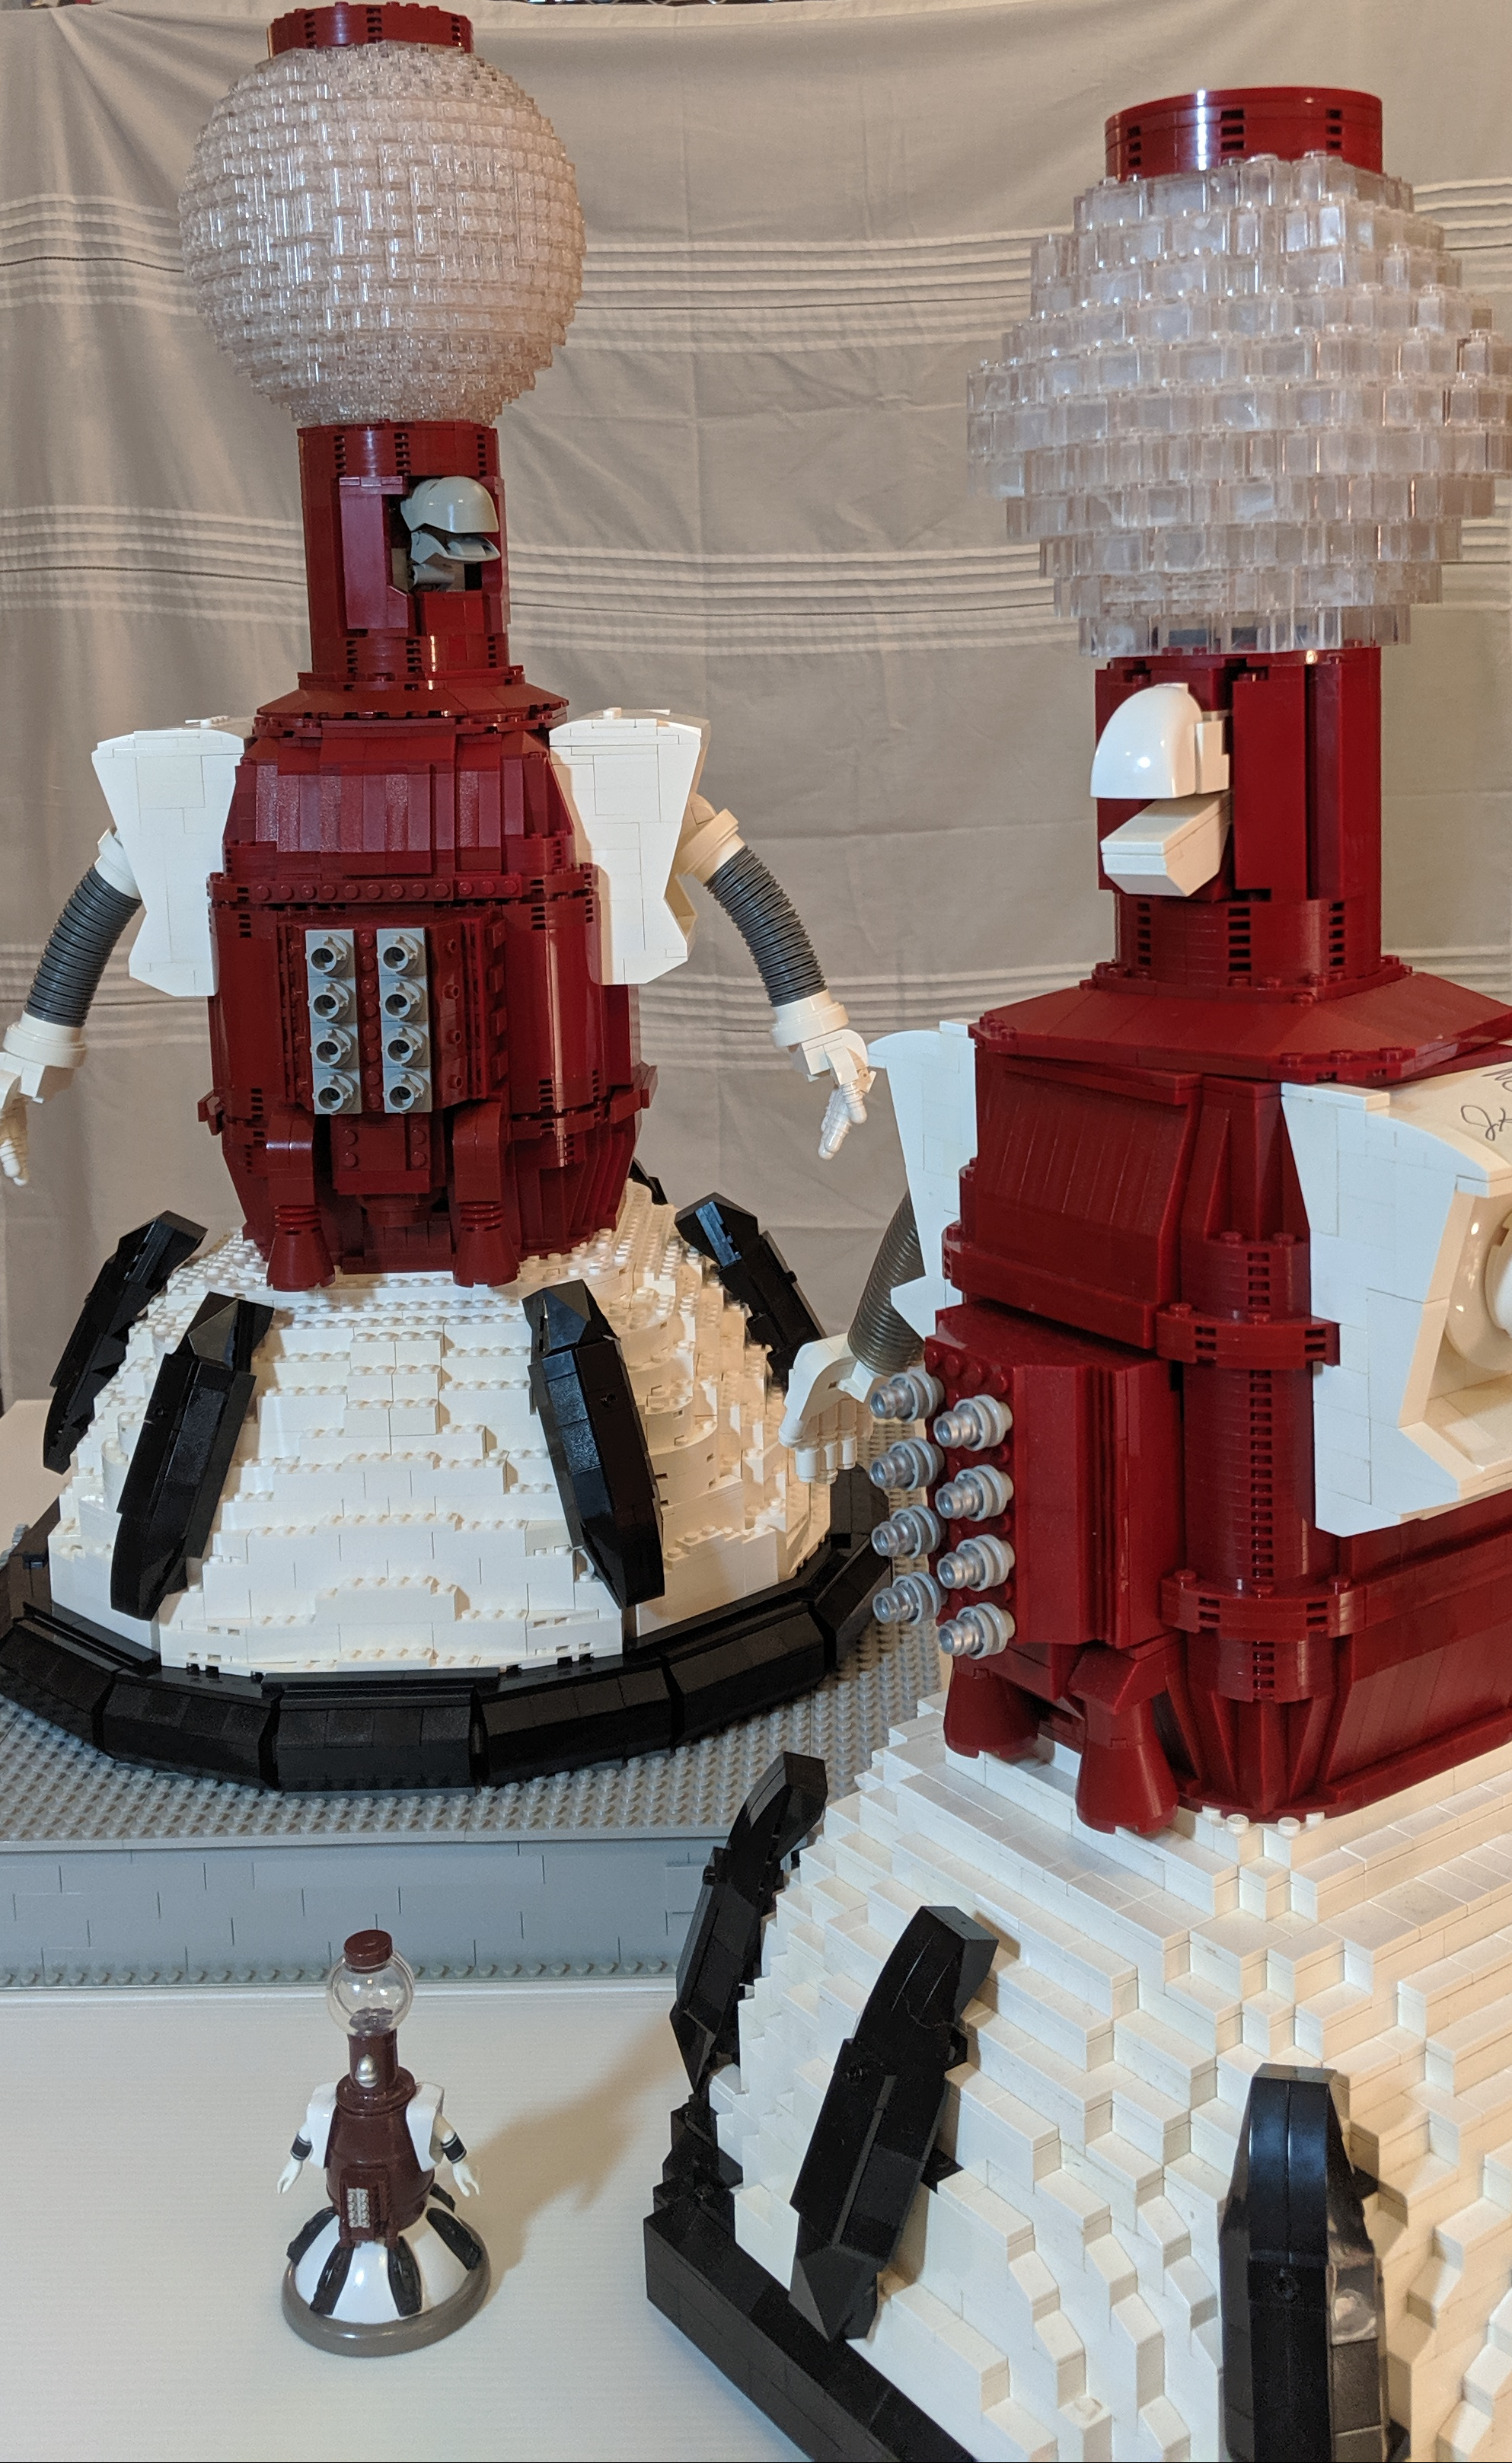
Presenting….Tom Servo 2.0
Tom is a fully-functional puppet, as you can see in this video. Keep an eye out for a super-satisfying arm jiggle. The real Tom Servo has springs for arms, and somehow I lucked into a build that has the same touch of movement when he’s talking. He also comes apart (on purpose this time) for storage and travel.
In case something breaks, the back of his hoverskirt is removable to access all the Technic goodness inside.
By now you’ve seen most of the rest of Tom due to in-progress shots. I’ve posted a few more in his Flickr gallery for the detail obsessed.
Oh, and for the record, I did end up using a couple of those dark red cheese slopes. Two of them.
Final Thoughts
So…what a journey, huh? When I first decided to get back into building with LEGO, I never imagined my first big project would lead me in the directions it did. I’m super glad I did start building, and I’m glad my desire for feedback from friends and family meant I had taken enough in-progress photos to justify my writing about it later on. I hope you’ve enjoyed watching Tom 2.0 come together, and then apart, and then together again. At the end of the day, no part of this build survived from it’s initial forms. (It was so close on the dome making it to the end, but I have to admit the new one looks better. So maybe that was for the best, too.)
When I look at Tom 2.0 next to his older brother I can see that I’ve managed to grow a bit as a builder. Teaching myself Tecnhic gearing, figuring out the right way to build a LEGO sphere (basically, just use Bram’s generator), and understanding how to scale things to odd-width stud counts are all upgrades to my skill set that I’m sure I’ll be happy to have going forward.
I can also see there’s still a lot of room for improvement, but I think I’ll wait a few years before I try for 3.0.
What big lessons have I learned? “Take the time to plan” and “don’t bother planning, because it’ll all work out one way or another.”
…Also, “be sure your backdrop is firmly secured.”


