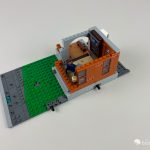
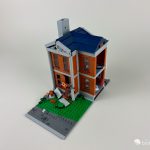
Marvel fans of all ages have had many great LEGO sets come out over the years, both play and display-worthy tributes to many comic book heroes and villains from big-name heroes like the Avengers to street-level characters like Spider-man and Daredevil. Some of these groups have even had large-size display sets like LEGO Marvel Spider-Man 76178 Daily Bugle and Avengers Tower, but one group of heroes has been missing a large set of their own, until now. The X-Men finally get a base of operations in the newly announced X-Mansion set, which includes 10 minifigures and a sentinel. But will this long-anticipated set live up to fan’s expectations? LEGO Marvel X-Men 76294 The X-Mansion comes with 3,093 pieces and will be available on November 1st for US $329.99 | CAN $429.99 | UK £289.99
The LEGO Group provided The Brothers Brick with an early copy of this set for review. Providing TBB with products for review guarantees neither coverage nor positive reviews.
At a recent LEGO fan media event in Billund TBB was fortunate to be invited to, we heard from some of the set designers, who talked about the many source materials in addition to the X-Men ’97 animated reboot that inspired this love letter to the expanded X-Men universe. The set is full of easter eggs and hidden references to the comics, movies, and multiple animated series.
Unboxing the parts, instructions, and stickers
The set comes in a large square box with the 18+ branding, the Marvel logo, and the set name, including the X-Men circular logo. The band of LEGO elements along the bottom is in dark blue to match the roof of the mansion. On the front of the box, the finished model is displayed along with all of the minifigures and the sentinel in an all-out battle.

On the back of the box, the mansion is shown from the back, with the characters arranged in a different battle scene. A small diagram shows the set’s dimensions in the upper corner. A row of five smaller images along the bottom shows the modular nature of the set and a series of close-ups of various rooms.

The box is taped on all sides, which is becoming more common for larger sets. Inside the box, there is a smaller white box holding half of the bags, the loose baseplates, and an envelope with the instruction booklets and sticker sheets.

The set comes with 24 paper parts bags, many with more paper bags inside for smaller parts.
Inside the paper envelope, there are 3 instruction booklets and 2 sticker sheets. The white box also has 3 16×32 baseplates in dark gray, a large light gray plate, and a flexible tube.
The first few pages of the first booklet include additional content related to the set, the history of the X-Men, and an introduction from Jesper Nielsen, the LEGO Marvel Creative Lead.
The build
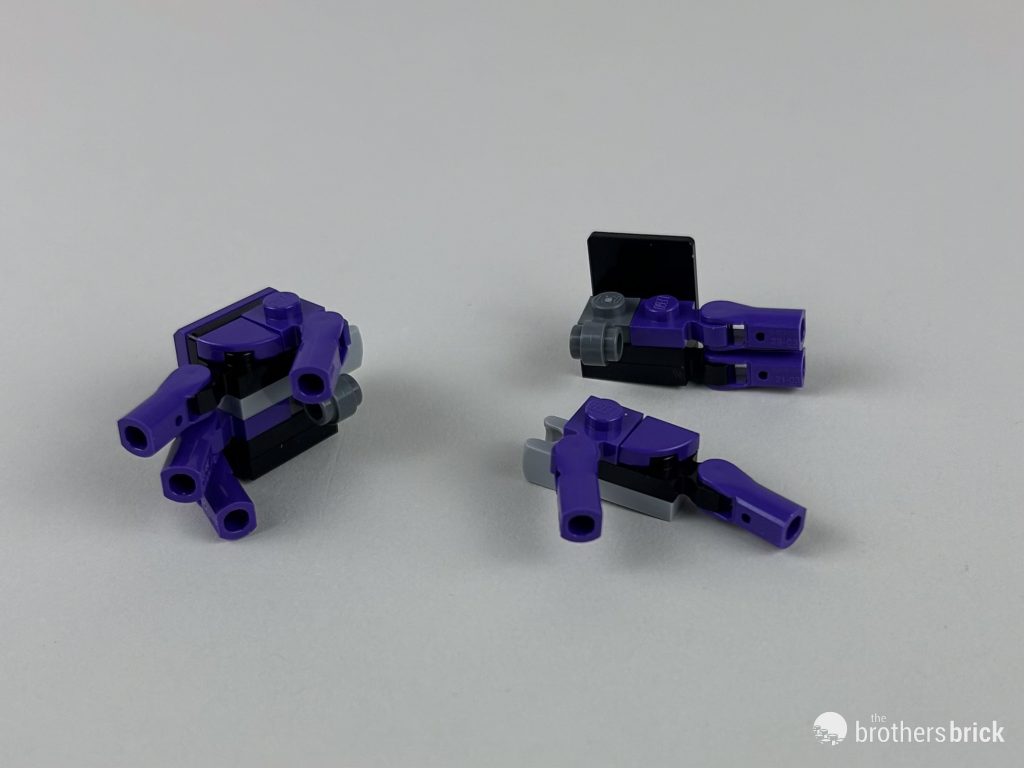
Booklet One covers the central section of the mansion as well as the Sentinel, which starts with a simple torso with the signature power source that reminds me of the Stark reactor which powers Iron Man’s early armor suits. A small hip assembly with a click joint and a new modified plate with a ball on each end.
Next, a pair of dark magenta legs using an angled element for the knee. This is a part used for many mechs that severely limits pose-ability. A small knee cover is made using the curved tile commonly used for boats to slide along a table surface.
The Sentinel’s two feet are made to look like large boots, with another new curved part used for the toes. Each foot includes a modified plate that can attach to the Technic pin built into the front sidewalk.

While the legs have a limited range of motion due to the fixed-molded knee joint, they can be posed in a dynamic stance for fighting. The arms are mirrored builds using dark magenta for the upper arms and purple for the forearms.

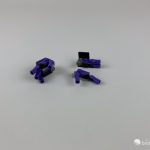
The two hands are well-designed with a small number of parts, and each hand includes an attachment for the flexible tube that can form a lasso around one of the minifigures.
The Sentinel’s large shoulders are attached and the printed head completes the build.

Before starting on the Mansion, we get a small build of Professor X’s iconic hovering chair.
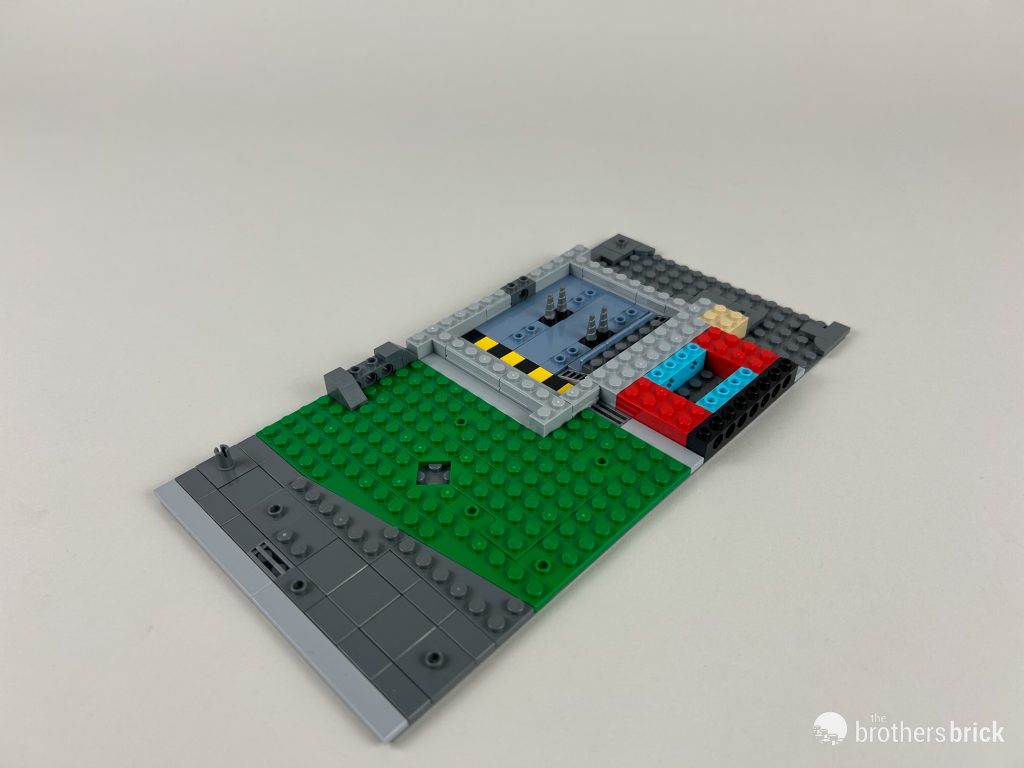
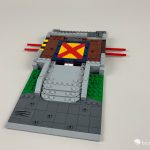
With these side builds out of the way, it’s time to move on to the main event. The central section starts with a basic foundation with attachment points in the form of Technic bricks for each of the two side wings. The center of the entry is dominated by large front steps and a small amount of lawn on either side of the front walk. One thing I noticed right away was how much of the baseplate is set aside for landscaping. More than half of the baseplate, with 4 studs at the back and 13 studs at the front. Compared with last year’s Natural History Museum which had 3 studs at the back and 7 studs at the front, this makes the final building noticeably smaller than some other modular buildings. We’ll come back to this later in the review.
Around the back of the building, we add the start of the gray foundation that surrounds the mansion and the back doorstep. Two front steps are added as well.
Next up is the stately foyer of the mansion, which includes a red and yellow-orange X set in the floor.

We finish off the front porch with a neat sloped element attached with a bracket.
From here, we build up the back wall and add a few pieces of furniture in the form of pedestals for a vase, a statue, and a plant. Each side is an open arch to access the two wings. The front wall has two sets of windows flanking the double doors.

Four white pillars are added to support the second-floor balcony. One nice architectural detail here is the use of the roller skate on top of each pillar.
The final elements of this first-floor section are an elevator with someone’s lost coffee cup hidden inside (LEGO designers sure seem to like hiding coffee mugs and frogs randomly in sets) and a pair of comfortable-looking chairs.

Around the back of the section, a large anti-mutant poster is plastered on the wall. There are two stickers of framed photos. One is of friends Charles Xavier and Eric Lehnsherr at the opening of the school for gifted youngsters, and the other is the original X-Men line-up of Professor X, Angel, Beast, Iceman, Cyclops, and Marvel Girl.
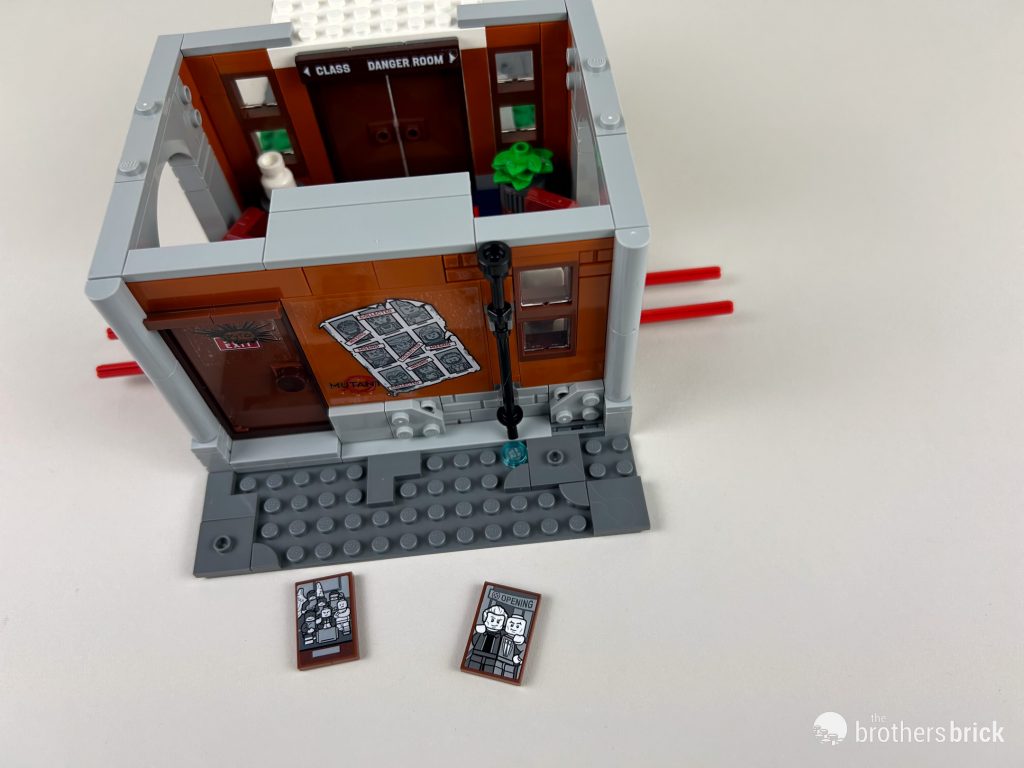
Before starting on the second floor, we add a railing (safety first!) to the balcony. The second floor for this section consists of a lab. The back and front walls match the first floor, and the two sides are arched openings that lead to the Danger Room control booth on one side, and the one bedroom on the other. The balcony is reached by a glass double door.

Two stickered tiles are added, one is an x-ray of Logan’s arm showing the adamantium fused with his bones and the iconic claws. The other is a display of data from Cerebro, the invention Charles uses to amplify his psychic powers to find mutants worldwide to bring to his school as future X-Men.

For furniture, there is a computer on top of a cabinet containing videotapes, an MRI scanner, a file cabinet, the Cerebro headset, and a display for Cerebro.
The lab may seem sparsely furnished, but the middle of the room is left open to accommodate Charles’ unconventional chair, which fits perfectly to allow Charles to put on the Cerebro headset.
The second floor fits onto the first floor with only a few studs connection. Now with this section of the mansion interiors complete it is time to move on to the roof.

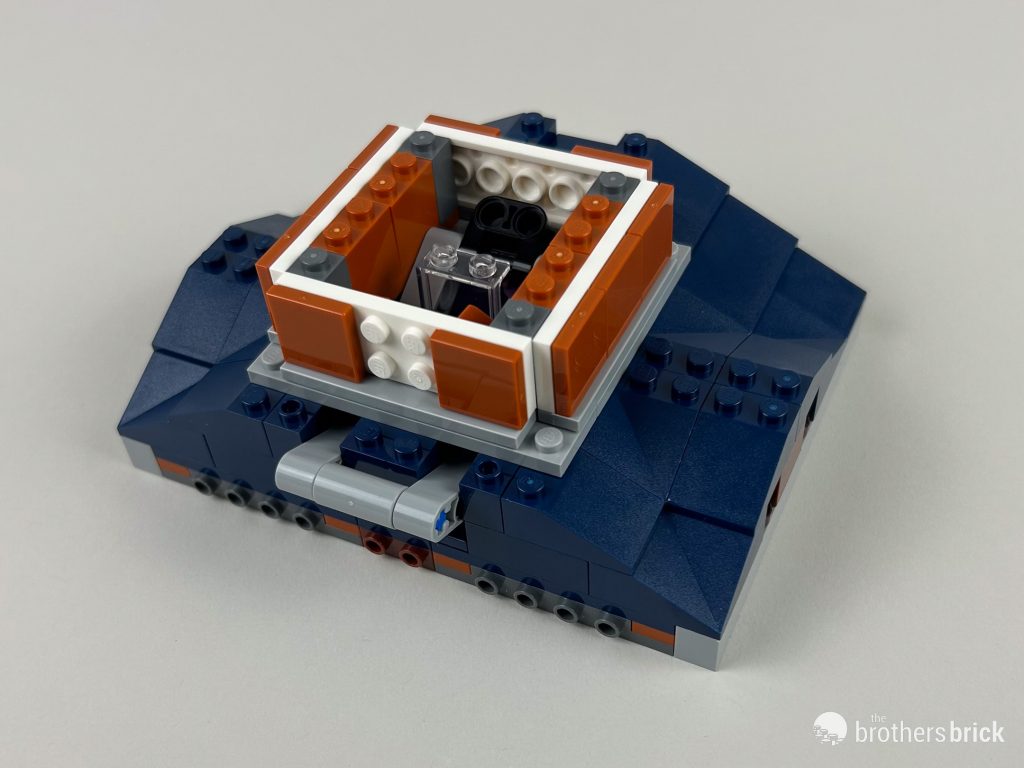
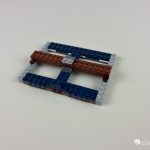
The roof starts fairly simple, with many long modified plates with 4 studs along one side, and bricks used to strengthen the base. Dark blue slopes are added, and we get the simple Technic mechanism used to pop the cupola off of the rooftop.
Hidden in the rafters is a small bloom of a Katoa flower, a native blossom of Katoa that possesses a variety of properties including longevity and curing mental disease.
The roof continues to fill in with more dark blue slopes, and at the center is the supporting structure for the cupola which hides the mechanism very well.
The middle section of the front and back roof peak is filled in using an assembly attached to sideways-facing studs that perfectly uses LEGO math. The outward-facing studs on the outside will serve the purpose of aligning the facade added in the next step.

The facade at the front and back of the main roof is attached using the hollow studs of those modified plates from earlier. The facade is built 15 studs wide and set onto the 16 studs width of the building.
The cupola consists of four parts. The back half is firmly attached to the top of the roof while the two front quarters are attached loosely on just 2 studs and the domed top sits loosely on top with no stud connections at all. There are also several small gray bricks with axle holes pointed in different directions on the cupola structure, and elsewhere on the mansion to be used when setting up your scene.
By pressing the lever in the back down gently, the 3 parts of the cupola pop out in a very satisfactory way.

The completed center section is ready to be put aside while we start in on the Danger Room wing. Overall impressions so far, I really like the architectural details of the mansion, like the rounded vertical elements of the facade along the front and back of the building which fits the style of the mansion as seen in comics and movies. I do wish it was just a little bit bigger, with more interior details but more on that later.

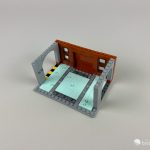
The next section of the mansion covered by booklet two will be the two floors of the Danger Room, a reconfigurable training room that can be altered to challenge each of the X-Men’s powers. Here the team learns to work together and trust each other in combat. The build starts much like the center section, with a foundation for the building and a lawn and sidewalk in front. There is a space in the lawn for a retractable defense turret. The outside edge includes a Technic brick to align with the LEGO modular standard. Because the building is so short, however, an additional brick is added to the front lawn to align with the front brick of the modular system.
Built into the floor between the danger Room and the adjoining hallway is a track for a sliding door. In the back, there is a delivery box from Trask Industries, the creator of the Sentinel.

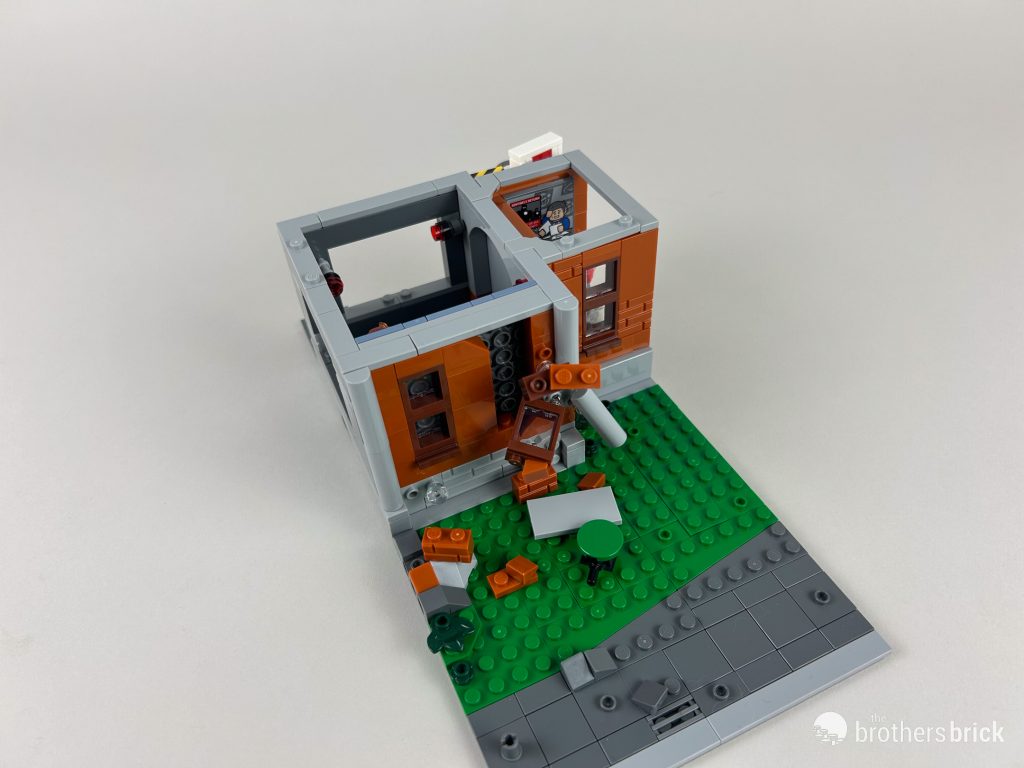
Next, we start to build the shell of the Danger Room walls, which have gaps for removable walls that come later. Two red lights are added that alert the occupants that danger is coming. The front facade of this section includes battle damage and attachment points for the small transparent elements used to attach more debris on the outside.

The doorway is topped with an arch, and then the first section of the Danger Room wall is built separately and attached to the sideways-facing stud bricks. This first wall has a sliding turret with two barrels and a pair of fire effects.
The sliding door is built with a printed electricity warning tile attached to a block used for sliding the door open and closed. On the adjacent wall, there is a large monitor with a news broadcast with the headline” Sentinel Returns”… the nervous anchor seems to be a mutant as he sports a third arm holding his report pages. The ticker along the bottom reads “Mutants everywhere?!”

The first floor finishes with a few more interior details like a fire extinguisher and a stack of newspapers with the front-page headline “Mutant Registration” referring to the program to require mutants to self-identify and be monitored by the Government.

From the back, you can see the sliding door mechanism which moves very smoothly in the track. In the front yard, the debris from the blown-out corner of the building is strewn across the lawn and attached to the clear elements for a dynamic freeze-frame of the action.
Moving on to the second floor, which is fully open to include even more danger, while the hallway section contains the control room which looks out onto the action. 2 more red lights are added along with two more open walls, and the front wall which has an assortment of sideways-facing studs to attach the wall to.

This section of the Danger Room wall mostly consists of spiked sections and several jumper plates that can be used to attach your own custom dangers, or X-Men in training.
Next, some stickered control panels are added and there is a chess set on the floor which could be a reference to Charles and Eric playing chess together in Magneto’s plastic prison from the second X-Men movie. In the back of the mansion, a basketball hoop is added for downtime.

Now that the main structure is done it is time for some added danger. Four sections of walls are built separately and can easily be copied to create your own dangerous challenges. They each have a mysterious sticker which is a hidden reference. The 2 rockets have “E92131” for Earth 92131 which is the multi-verse where the X-Men originated from. The 3 red lasers have “E13122” for Earth 13122 which is the main Marvel universe. The 2 saws have “UX266” for Uncanny X-Men issue 266 which was the introduction of Gambit. The 8 missiles have “141965” for X-Men issue 14 from 1965 which was the first appearance of the Sentinels.

These slot easily into place and also include more gray axle bricks for attaching some of the many clear elements included in the set when customizing your display.

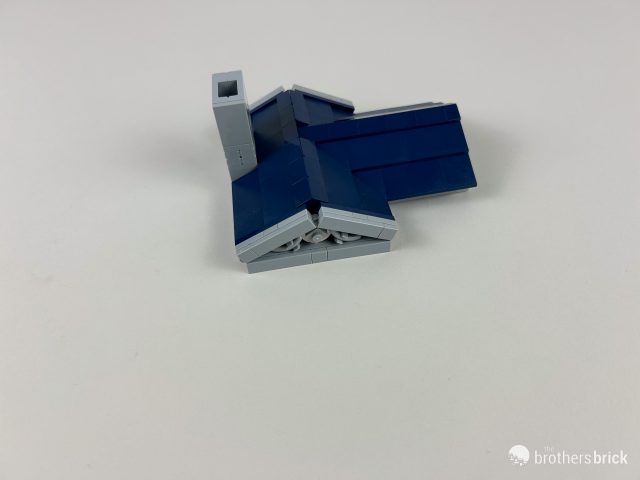
Moving on to the roof, this is much the same process as the center except where that was mostly symmetrical, this section is asymmetrical in roughly an L shape. More dark blue slopes give the roof its shape while a small section is left open for a chimney.
Each side of the mansion has a slightly different style of chimney with this one being larger and straight. A smaller version of the circular element in the middle section is repeated here using hot dog elements in place of the larger spiral element used in the central section. On the back of the roof is a small white air conditioning unit. Smaller facade assemblies also match the central roof.
One last thing for the front lawn, a small dark green tree. With the roof attached, the Danger Room wing is complete and ready to attach to the central section using the long red axles inserted into the base. These take a bit of effort to push in but are fairly sturdy once they are firmly in place.
Picking the model up to move it is more than a little nerve-wracking with only the base level attached but if you wanted to you could easily switch some of the dark blue cheese slopes around to lock the roof sections together as well.

Next, we start in on the third and final section with the third booklet, which has a classroom on the first floor and a bedroom on the second floor. The base is much the same as the other two, with the mirrored version of the Technic brick assembly used on the Danger Room wing. There is a stickered tile in the foundation that may be the deed to the mansion, as it has Charles Xavier’s signature. The front lawn includes another spot for a defense turret.
The classroom has a tan floor while the hallway has a light nougat one. There is a travel brochure on the floor and a screen with information about Sentinels on the wall. An additional sliding blackboard has material for another lesson which can be slid back and forth from the back of the model using the attached AC unit. At the top of the sliding panel is another screen with Beast and a grid of remote students giving me serious 2021 flashbacks.
Another arched entry separates the classroom from the hallway and two school chairs with side desks are added on one side of the room. The rest of the side wall is a bit different from the front of the mansion to keep the side of the building smooth, so as not to interfere with any other modular building attached for your display.
The front of the building matches the style of the other wing with a mix of windows and brick-patterned profile bricks with attachment points for the pillars on each side.
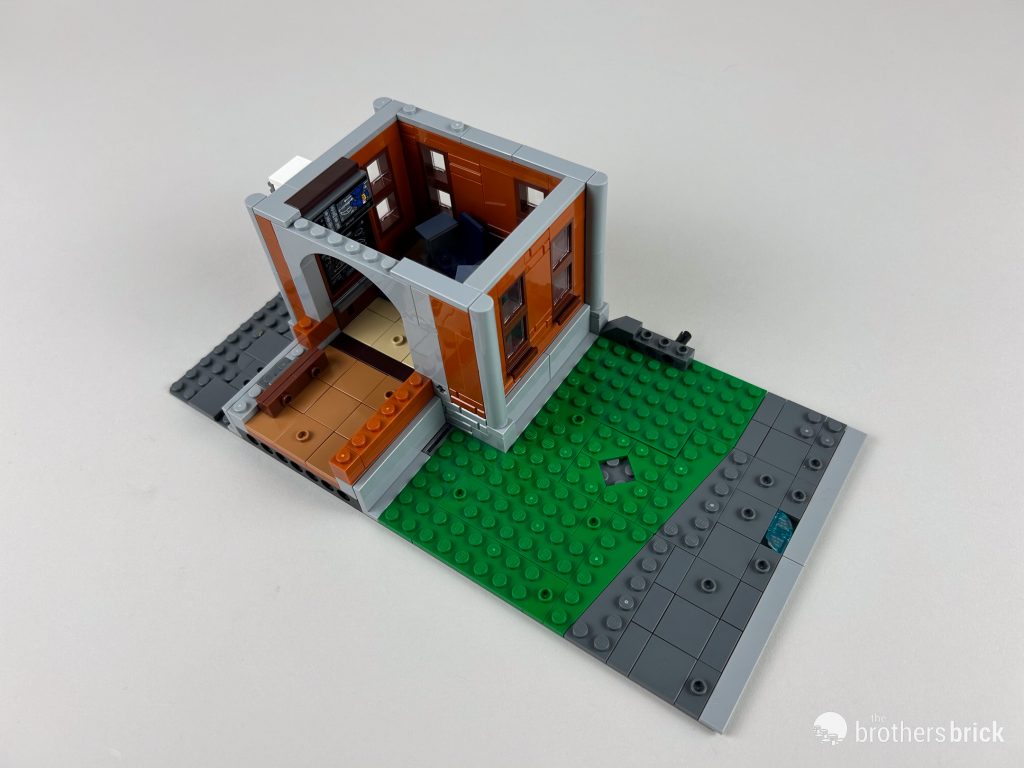
A single bookshelf fills the back wall of the hallway. With another wall of windows to match the previous wing, the first floor of this wind is done. Before starting the second floor, we add another turret, some vegetation, and a base for the sign to be added later.
Moving on to the final section of the mansion starting with the bedroom, which has two beds, one is obviously Logan’s with a katana mounted on the wall and a booze bottle in the corner. The beds are a pretty clever build, but that bump right below the pillow looks pretty uncomfortable.
The entry is arched like all of the others, and the hallway is a small lab next to the main lab. A dresser with a boom box and a Statue of Liberty model (a reference to the first X-Men movie) decorate a small dresser and there is a copy of X-Men #1 on the floor (my comic book collector self is cringing this isn’t in a sealed bag). There is a photo of Scott Sommers and Jean Gray for Logan to pine over when he is in his cups…
The remaining walls match the rest of the mansion, and there is one more stickered tile in the form of a calendar with Alkali Lake written on it showing a photo of Wolverine eating hot dogs off of his adamantium claws.
The small lab in the hallway includes a counter with a microscope and a computer showing information about the deadly Legacy virus as well as the possible cure. And the greatest tragedy of this whole set: a spilled cup of coffee.

Putting this tragedy behind us with the final outside wall attached, the second floor attaches to the first with a few studs, and we are ready to build the third and final roof section. After that, we make a quick visit to the back of the mansion, where there is a large yellow trash bin with an old hat and a cutlass inside (a possible Teddy Roosevelt cosplay costume?). A small frog sits on top of that, perhaps as a reference to the character “Toad” who appears in the first X-Men movie and is played by Ray Park. There is also a sticker for a concert performed by Jubilee. According to the set designers there are 8 pieces of chewing gum (pink 1×1 round studs) hidden throughout the set.
The roof is a mirror build of the Danger Room wing roof in almost every way except for the chimney which narrows in the middle. The facade and the air conditioning unit are added as well.
And now that the third section is done it is time to put it all together.

Wrapping up the mansion, we add the school sign, another dark green tree, and some battle damage in the form of an uprooted fire hydrant and lamppost.

To allow for plenty of flexibility in setting up your own battle scene, the set includes several transparent elements such as studs with holes in the middle, long bars with plates on the end, curving bars with a clear double-sided stud on one end, and a small angled element with a stud on one end.

Before talking about the minifigures, I want to revisit the Sentinel, the quintessential X-Men adversary featured in comics and movies repeatedly. The last LEGO Sentinel from LEGO Marvel 76022 X-Men vs The Sentinel, was quite a bit smaller than this one. At about 4 times the height of a minifigure, this Sentinel is much closer in scale to the source material.
Besides the flexible lasso, which again, can be attached to either hand, you can use one of the transparent studs to attach a minifigure directly to the same attachment point. Another fun feature of the set is the inclusion of several stickers for giving the Sentinel battle damage.
The Minifigs
The set comes with 10 minifigures, including many of the original line-up. All minifigures come with front and back-printed torsos and many include power effects which I will show later in the finished model section. First, there is Ororo Monroe, A.K.A. Storm, who comes with a cloth accessory and dual lightning bolts. Next is Jean Grey, A.K.A. Phoenix who comes with light purple power effects to represent her telekinetic powers. Charles Xavier, A.K.A. Professor X wears a dark blue suit and a black patterned tie. Scott Sommers, A.K.A. Cyclops has front-printed legs and comes with a red projectile from a spring-loaded shooter for his powerful laser beam. And then there’s Logan, A.K.A. Wolverine, with his Adamantium claws. Wolverine also has front-printed legs.

The back-printed details vary from more complex for the rest of the mutants to a simple fold for Professor X. The others all have alternate facial expressions, and Wolverine comes with his trademark cowl.
Next up is Remy LeBeau, A.K.A. Gambit, who wears his icon trenchcoat and knee pads printed on his legs. Gambit is armed with a staff, and three kinetically charged playing cards. Bobby Drake, A.K.A. Iceman, wields dual ice blasts. He has front-printed legs as well. Eric Lehnsherr, A.K.A. Magneto, wears a rubber-molded purple cape and has two transparent purple radar dishes to represent his (invisible) magnetic powers. Lucas Bishop, the time-traveling soldier, is armed with his large rifle and carries a light purple transparent disk. He also comes with a large light purple disk-shaped power platform. Like all mutants from his alternate future, he has an M tattooed over his right eye. Finally, Anna Marie LeBeau, A.K.A. Rogue, with her distinctive white-streaked hair.
Bishop’s back printing is the most detailed while the others are simpler. All but Iceman come with alternate facial expressions, and Magneto also has his iconic telepathy-blocking helmet.
The finished model
The three sections do a pretty good job of capturing the iconic location where mutants young and old can train together and learn to master their abilities as a team. The architectural details for the exteriors and the interior details like the Danger Room, classroom, and lab are great settings for our mutants to kick back or tear it up.
The finished mansion can be displayed with a battle scene of your design using the many clear elements and attachment points on the sidewalk and the mansion itself (I loosely followed the example in the instruction booklet) choosing to show the front or the back of the mansion.

You can also choose to display the mansion in more peaceful times by using most of the debris elements to rebuild the wall on the left wing and the sidewalk on the right wing.

Conclusions and recommendations
Now I want to talk about the size of the finished set. When I first opened the plain shipping box I was excited to see what LEGO had created. I am a huge X-Men fan having read many of the comics when I was a youth, and enjoyed most of the movies over the years. I even watched the X-Men ’97 reboot. I was disappointed when I saw the picture on the front of the box. What disappointed me most was the size. I was picturing the Daily Bugle, or the Avengers Tower, which were fitting tributes to the heroes and villains associated with those iconic buildings.
Compared with last year’s LEGO modular set The Natural History Museum, which has a similar structure architecturally, the X-Mansion is noticeably smaller.

It seems like this set tries to strike a balance between play sets, traditional modular sets, and the larger display sets I have already mentioned, but (and it breaks my heart to say this) honestly, it fails at each.
Let me explain. Both play sets and the larger hero sets mentioned above have either fully exposed interiors on the back of the model, or large removable sections of the wall to reveal interior details for play. With this set being modular, the floors are fully enclosed so you have to remove the roof and the top floor to see any scenes or interior details for the first floor.

As for the size, again comparing it to the Natural History Museum, which uses 18-22 studs for the structure, the X-Mansion uses only 10-14 studs for the structure. I have some opinions on what they could have done to solve this. They could have made this a 64-stud base, essentially a double-wide modular, making the center section on a 32×32 baseplate with each wing on the 16 baseplate. They could have made the mansion 14-18 studs deep, and close to the back of the baseplates without losing front lawn areas to set up a scene, opting for a smaller front porch. They also could have made the back fully open, and adding a few parts, made a third floor.

The third area in this set that falls short of the others is the included minifigures. With the Avengers Tower including 28 and the Daily Bugle 25, the X-Mansion includes only 10 minifigures. With all that being said if we instead choose to compare this set to smaller play sets or modular compatible sets like the Sanctum Santorum which had 8 minifigures this set does fairly well, although again, as far as size, the Sanctum building was 18 studs deep and had three floors.
I know that several factors go into designing a set, and while this may surprise you after my criticisms above, I found myself liking the set more and more as I went through the build process I only kept wishing it was bigger (the fact that there is only one classroom and one bedroom is odd to me). I may even follow some of my own suggestions to make this mansion meet my admittedly unrealistic expectations.

But could I recommend the set after pointing out so many flaws? Absolutely! If you are a fan of the X-Men, are looking to add a unique building to your modular town (maybe a few spots away from the museum) and you don’t mind the price, I think that the X-Mansion is an excellent homage to the mutants of Earth-92131 who are gradually joining the Marvel Cinematic Universe of Earth-13122. For die-hard X-Men fans who have been waiting for a decent tribute to this popular team then your wait is finally over. LEGO Marvel 76294 The X-Mansion comes with 3,093 pieces and will be available on November 1st for US $329.99 | CAN $429.99 | UK £289.99
The LEGO Group provided The Brothers Brick with an early copy of this set for review. Providing TBB with products for review guarantees neither coverage nor positive reviews.


