
In Part 1 of “Confessions of a minifig customizer,” we heard from Jasbrick about how to get started with minifig customization, and in Part 2 we learned about how to paint great minifigs. In our final installment, Jasbrick shares tips about the best ways to take customization even farther.
When you just can’t find the perfect part to represent the armour, weapon or even hairstyle of your imagined design this is the time to get serious. This aspect of the discipline is definitely not for the faint-hearted as irreversible damage can be done!
I do not profess to be the best sculptor around but here are some examples of my sculpted work:


The hat and kilt above are both sculpted and painted pieces.


The head, pipe and torso detailing are all sculpted on the goblinoid character above.
The following image shows the tools I use:


- Spare drills and scalpel blades;
- Sanding heads for hobby power tool;
- Various grade sandpaper disks for hobby power tool;
- Hard grinding disks for hobby power tool;
- Hobby power tool;
- Plasticard (for creating composite plates and armour);
- Pliers;
- Hobby saw (for cutting really thick / hard pieces);
- General purpose craft knife;
- Heavy duty sharp blade (lethally sharp.. be careful);
- Scalpel blade (as above but for more controlled cutting);
- Needle;
- Various shaped tweevers;
- Metal pins (used for strengthening joins);
- Diamond tipped file;
- Sculpting tools (for use with greenstuff and lesser extent milliput);
- Clay shapers (my favourite tool of choice… never sculpt greenstuff without them);
- Hobby pinning hand drill;
- Milliput (for creating inorganic material);
- Greenstuff (for creating anything, but particularly good for organic sculpting);
- Variety of hobby files;
- Last but not least… a decent cutting mat / worksurface.
The first tools of choice here are the hobby knife and mini saw. Lego plastic is of such good quality it is very difficult to cut without either a very strong and sharp hobby knife (no kitchen knives please) or a modelling saw for the really thick parts.
Once you have cut a piece it is important to file down the edges with either very fine grain sandpaper or modelling files. Filing a part is also useful to improve contact surfaces for when you want to glue two or more parts together. I generally use super glue as the adhesive of choice, combined with a technique called pinning which improves the strength of a join. Pinning requires you to drill a small hole in both of the parts being joined and inserting a small, usually metal, pin into the hole and then gluing this and the parts together. This adds great strength to the finished part and ensures that playability is maintained.
When adding rather than removing we have one of the more advanced disciplines in the customisers arsenal… sculpting. This is where you can really express your artistic side. However, projects that include sculpting tend to be the most involved and time consuming.
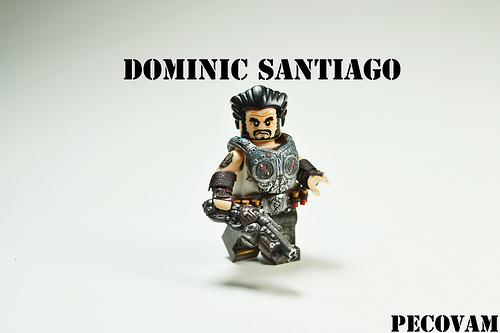
A great customiser that is producing some of the finest sculpted pieces I have seen is Pecovam. Here are some examples of his recent GOW work:


To sculpt you will need a modelling putty or clay as the medium, with my preference being Green Stuff or Kneadatite. Green Stuff is a very easy to use modeling putty that sets at room temp and does not shrink or expand during the setting process. Alternatives are substances like Sculpy, however these need to be baked and final result fluctuates in size and finish.
To work the medium you will need sculpting tools and most important clay shapers as this will allow you to shape it without having it stick to your fingers or deform due to too much pressure. Sculpting complex pieces require a number of stages that take time, but ensure a better final result.